Hi, my name is Mimi and I am the wife, mom, blogger, and mompreneur behind the family lifestyle blog Unlikely Martha.com. Unlikely Martha is where I share my life’s happenings including home decor, DIY projects, fashion, beauty and my haphazard spin on traditional homemaking.
Simply, I encourage women to “Keep House and Stay Fly”. I’m very active on social, you can find me on Facebook, Instagram and Snapchat at @UnlikelyMartha
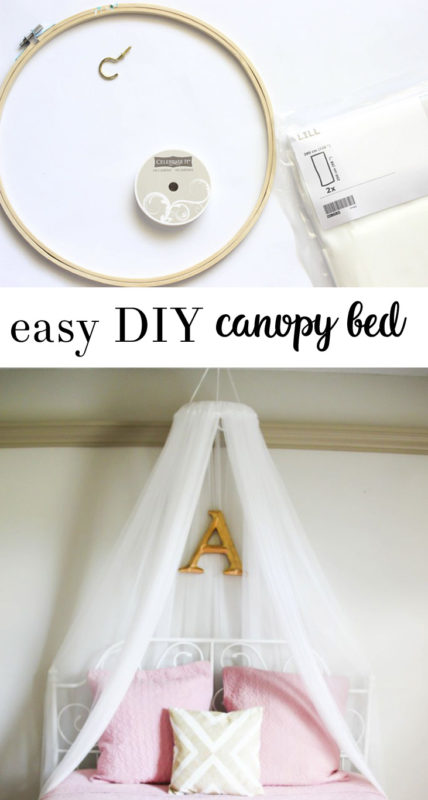
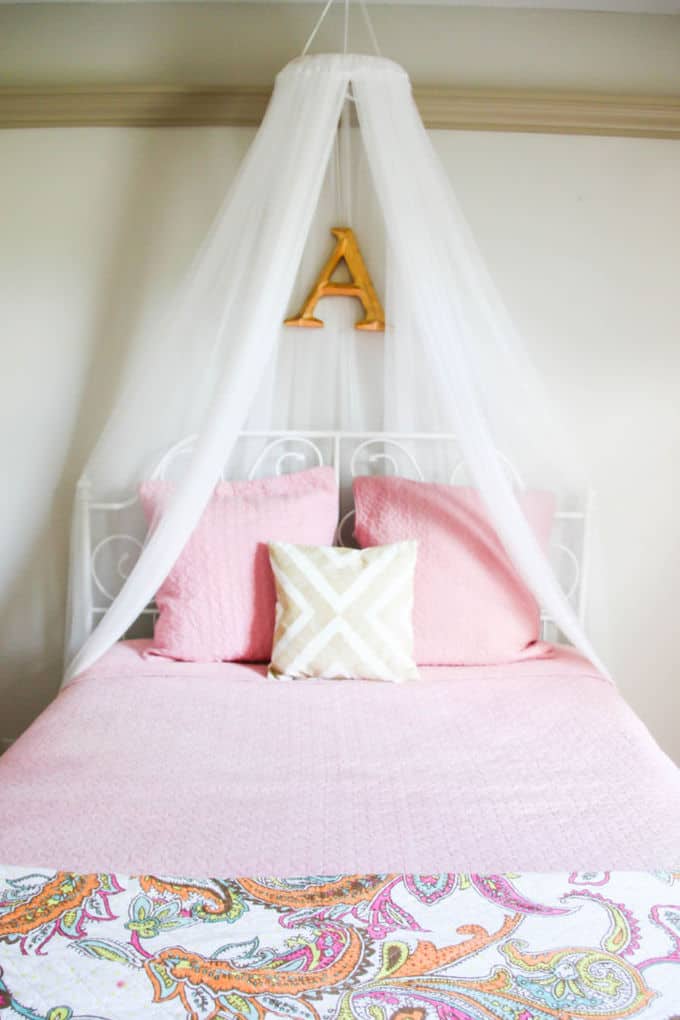
On a Friday evening trip to Ikea, my daughter spotted a bed net canopy and in her very best begging voice pleaded her case for me to shell over $20 for something I knew I could make for under $10.
I was right.
Once we made it down to the first floor in Ikea, I spotted the exact same sheers used in the bed net canopy upstairs in the curtain and fabric section. They came two in a pack for $4.99.
Armed with a few additional supplies, her net was completed in under 30 minutes and the tab came in under $10.
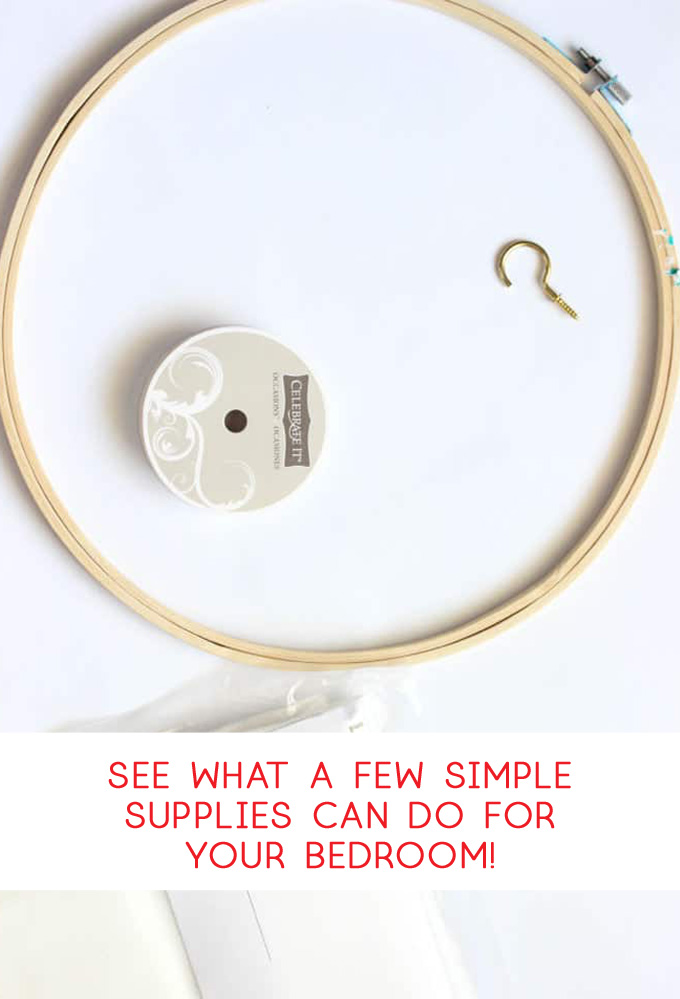
To make one of your own you will need.
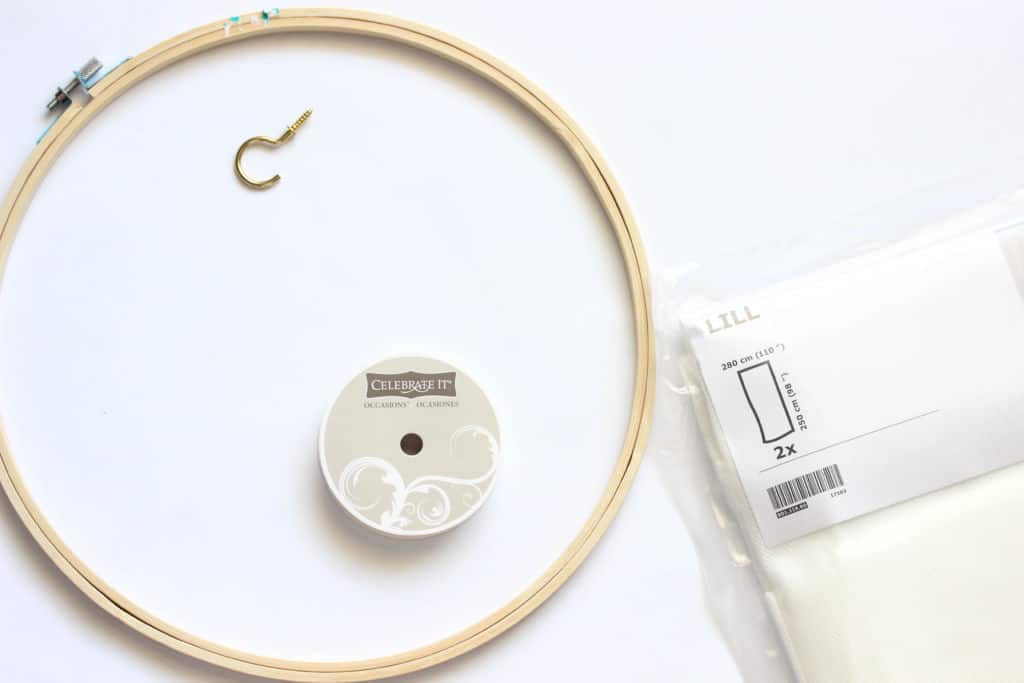
A pack of Ikea LILL curtains
A medium quilting ring (purchased from Michaels for $2.99)
Ribbon or String
Ceiling Hook
Spraypaint (optional)
I. Start with removing the inner ring of the quilting ring from the outer by untwisting the screw until the outer rings disconnect.
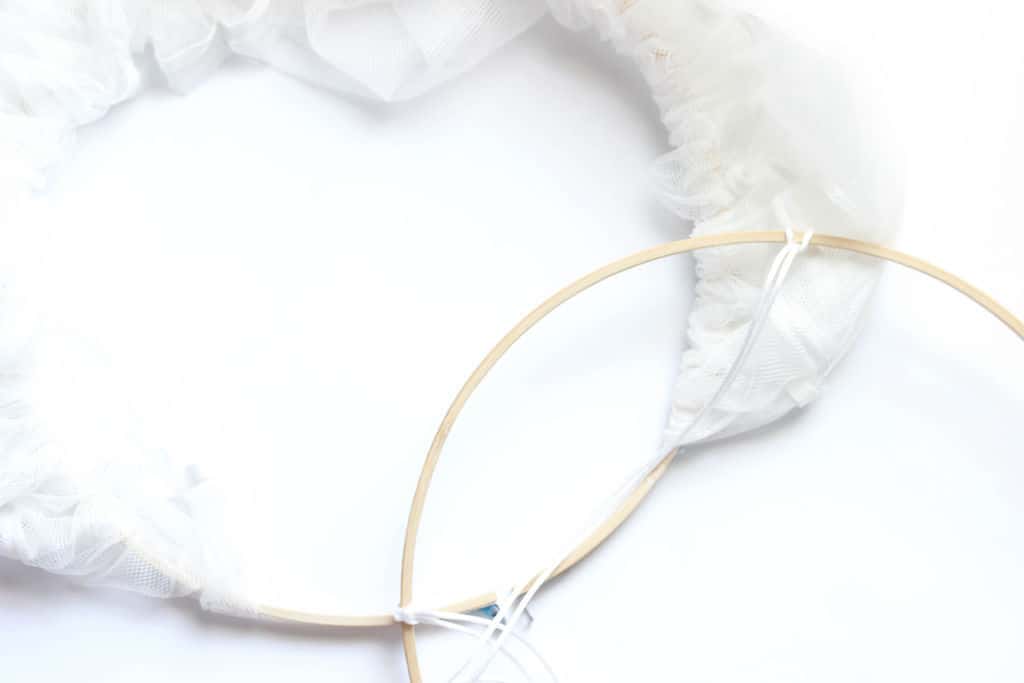
II. Once the rings are detached, carefully string the curtains onto the rings. If you choose not to spray paint the rings, the wood will catch the fabric on the curtains so be careful not to tear or rip the fabric.
III. Once you have strung both panels onto the outer ring. Measure out your string or ribbon to the length desired. Keep in mind a knot will have to be added so account for that when measuring. Once you have your measurement in mind. Loop knot three ribbons or strings onto the ring.
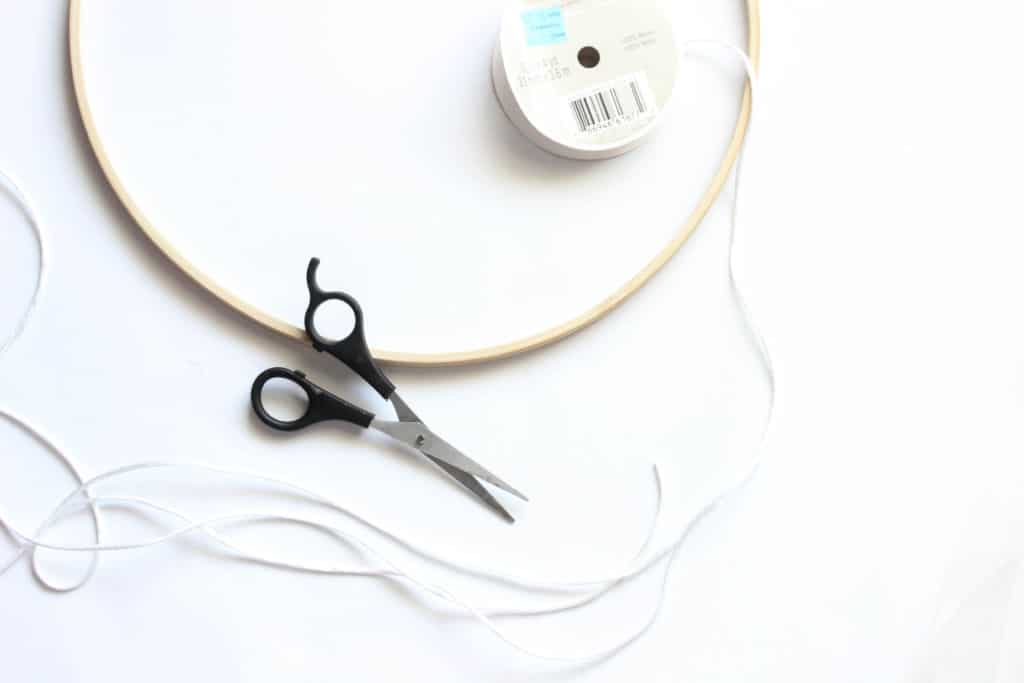
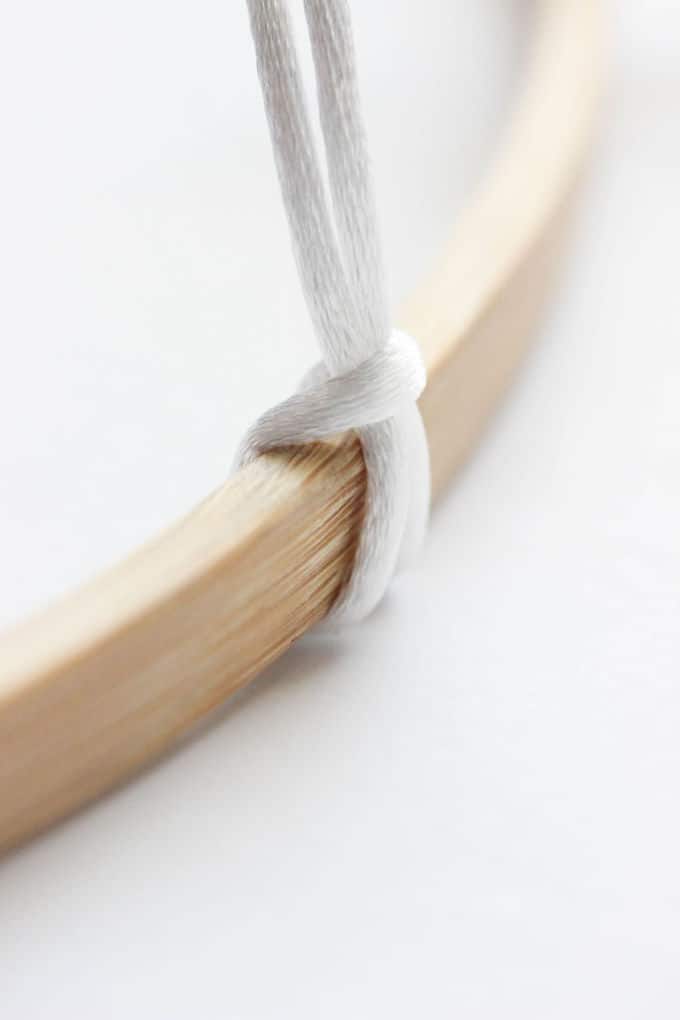
IV. Once they have been attached to the ring. Collect them together and make a knot at the top.
V. Now, place the inner ring back into the outer one, making sure the fabric is hanging how you want. Then tighten the screw to connect the two rings.
VI. Put your ceiling hook in place and affix the knot onto the hook. I recommend screwing the hook into a drywall anchor to ensure it stays. Ask me how I know.
Need a visual?! Addison is on Youtube showing how it’s done
Looking for more children’s room inspiration? This post tells you all you need to know about floor beds for babies and toddlers, and here you can find free printable wall decor for kids!