Like most of you, I’m in love with crafting with mason jars. They’re inexpensive and so, so versatile!
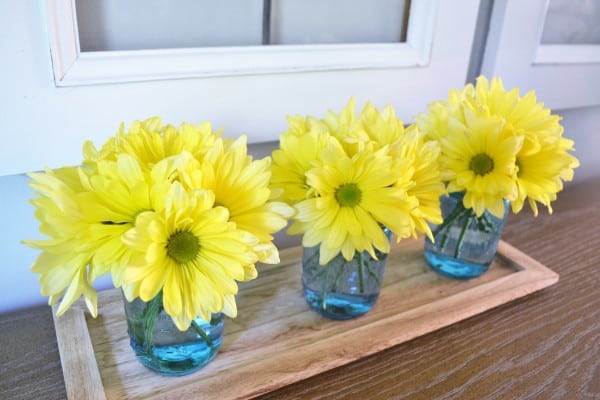
I’ve been wanting to craft some mason jar flower vases, with places cut out of the metal for inserting the blooms, for a while now. I love using mason jars for floral arranging. I use them for everything from tablescapes for photo shoots, gift-giving, and everyday centerpieces for our dining table. Looking for a foolproof way to get perfectly-arranged florals every time, I grabbed some mason jars and my drill and got started…
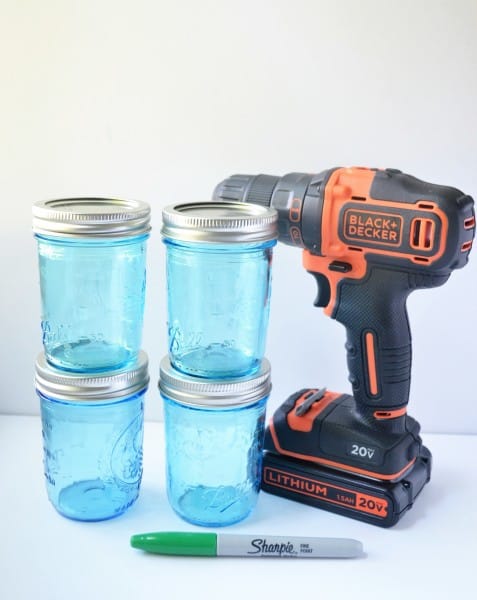
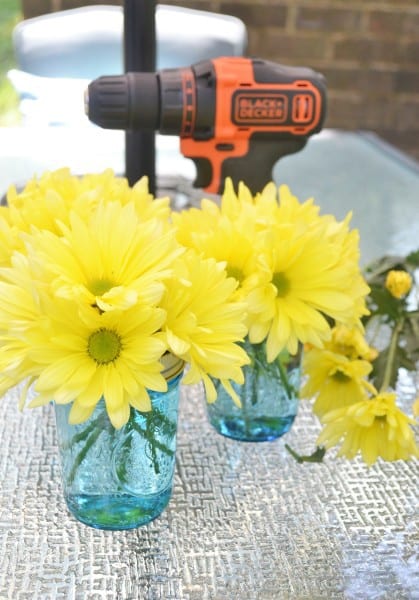
To take your mason jar vases to the next level, you’ll need a drill, mason jars, and a Sharpie:
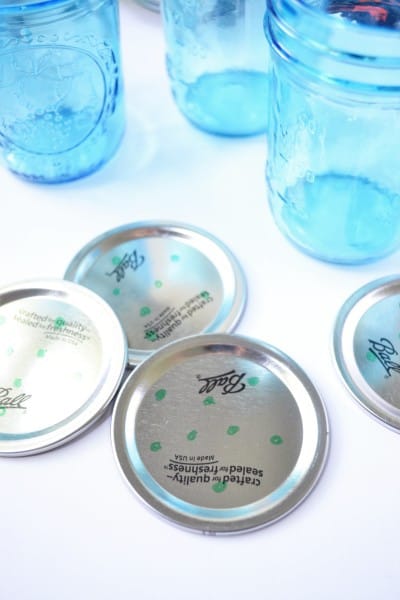
Use your Sharpie to mark on your jar lids where you’d like your holes. I drilled 9 holes per lid.
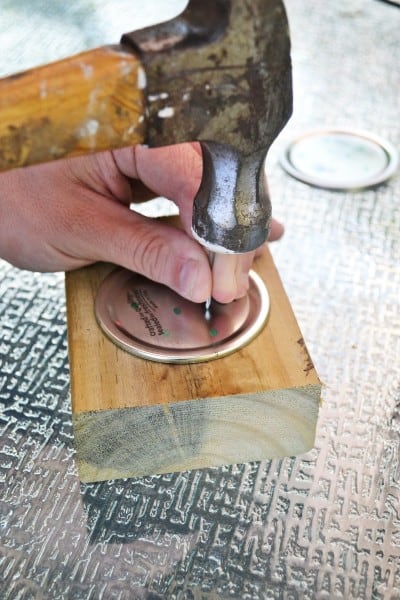
Place a piece of wood underneath your lid (you do not want to drill through the lid and onto your table!), and use a hammer and nail to make a small divot where each hole will be placed. This is so when you place your drill bit onto your mark and start drilling, it prevents the drill from moving/sliding around. It provides a little indentation for your drill bit to sit.
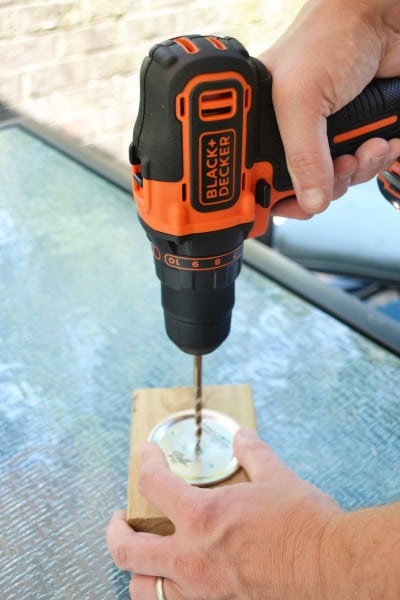
Carefully drill through the metal to create your holes.
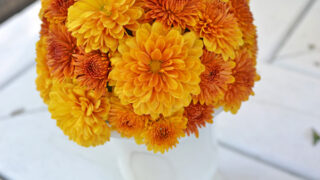
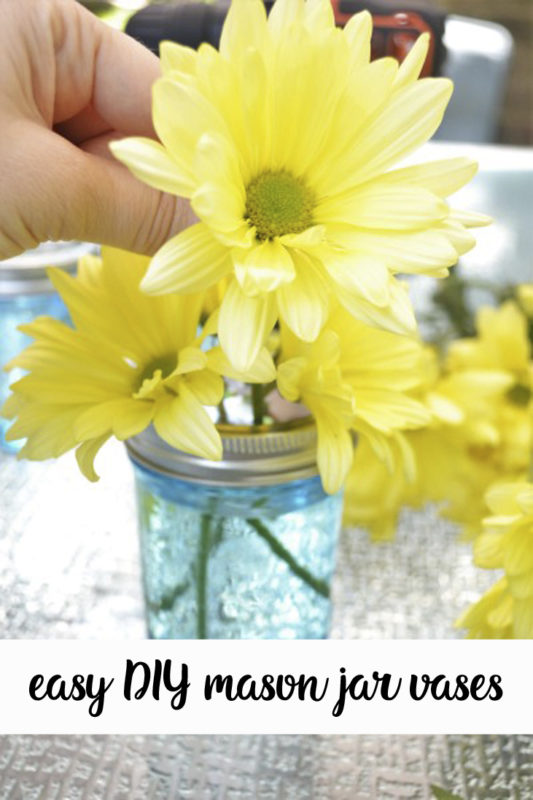
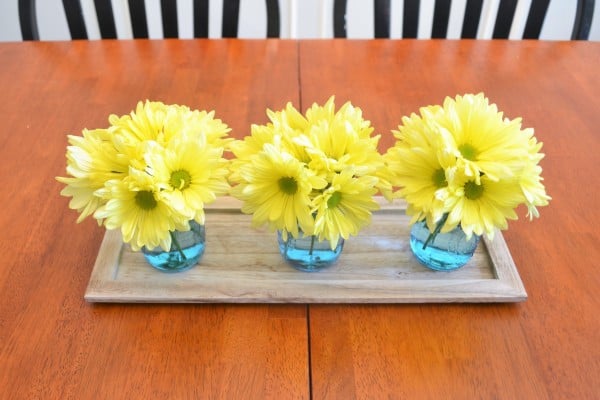
Fill your jars with water, screw on the lids, and start arranging…

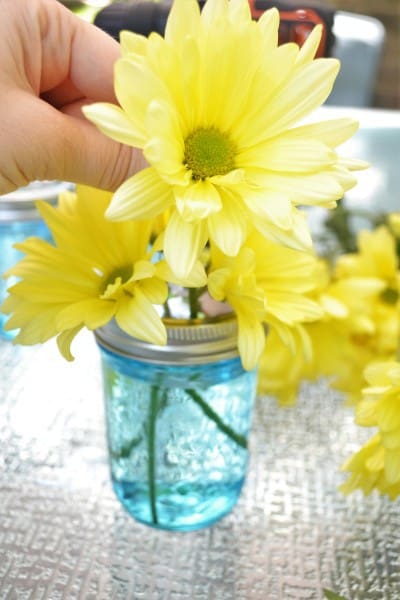
That’s really all there is to it! One stem per hole, and you have perfectly-arranged flowers with no effort.

These would also make a perfect gift! Perhaps with these “thank you for helping me bloom” printable tags for a teacher!
Have a fantastic day!