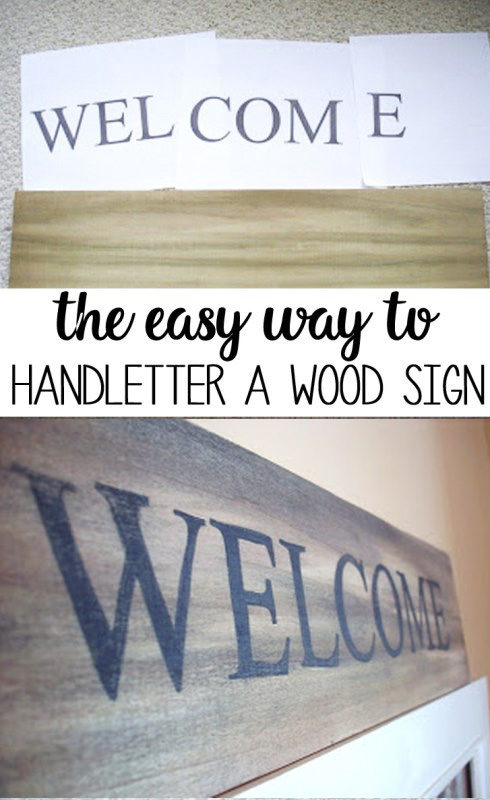
Want to know how to hand letter a wood sign? This easy tutorial shows you how!
I don’t know about you, but I love the look of the aged wooden signs that seem to be popping up everywhere. While I would love to own an original, with all of the vintage-y charm that comes with it, I settled for making one myself.
This was easy, even for a non-artist like myself, and the possibilities are endless-I already have another one in mind that I want to create for my family room!

Materials Needed:
wood
wood
acrylic paint
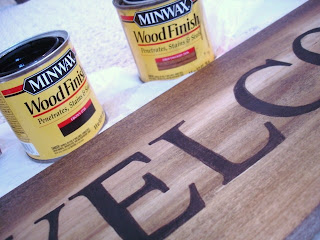
stain
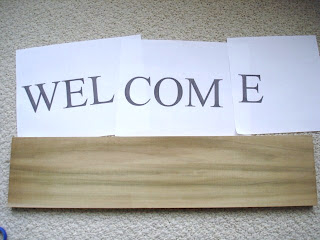
Step 1: Head to your computer and print out the wording for your sign, in the exact size and font that you want for your finished product. I printed out on the “light” mode to save a bit of ink. Tape letters down to your wood.
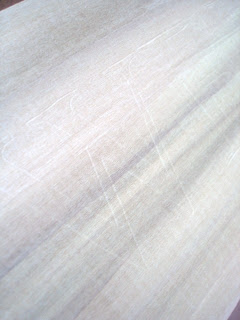
 Step 2: Using a pencil, press down really hard to outline your letters. Imprint will be visible, but barely.
Step 3: Trace letters with a black sharpie (see? obviously you are dealing with a real professional here). Then fill in with some black acrylic paint using a small paintbrush.


Step 4: Now for the fun part. Take some stain and, using a wet paper towel, apply to your sign. Practice on the back first!!! Use multiple colors of stain, or just one, whatever happens to be in your garage will work fine. Then, take a sanding block and rough up the edges, sand over the words, etc. as much or as little as you want to give it an aged effect. I also used a bit of watered down white acrylic paint to lighten it up a bit and distress it further.