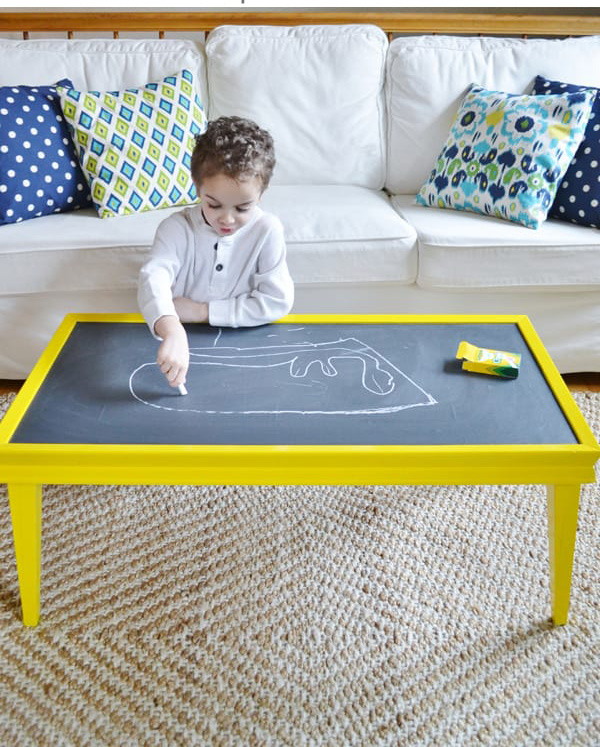
Perfect for kids room or a playroom, a chalkboard coffee table is the perfect way to give new life to an old coffee table!
I love visiting thrift stores, yard sales, and antique markets with an eye towards old furniture that needs a little bit of love.
This particular piece was found on Craigslist, and I knew it would be perfect for this easy project!
This project can be done, of course, with an end table, bookcase, or any small piece of furniture you’d like.
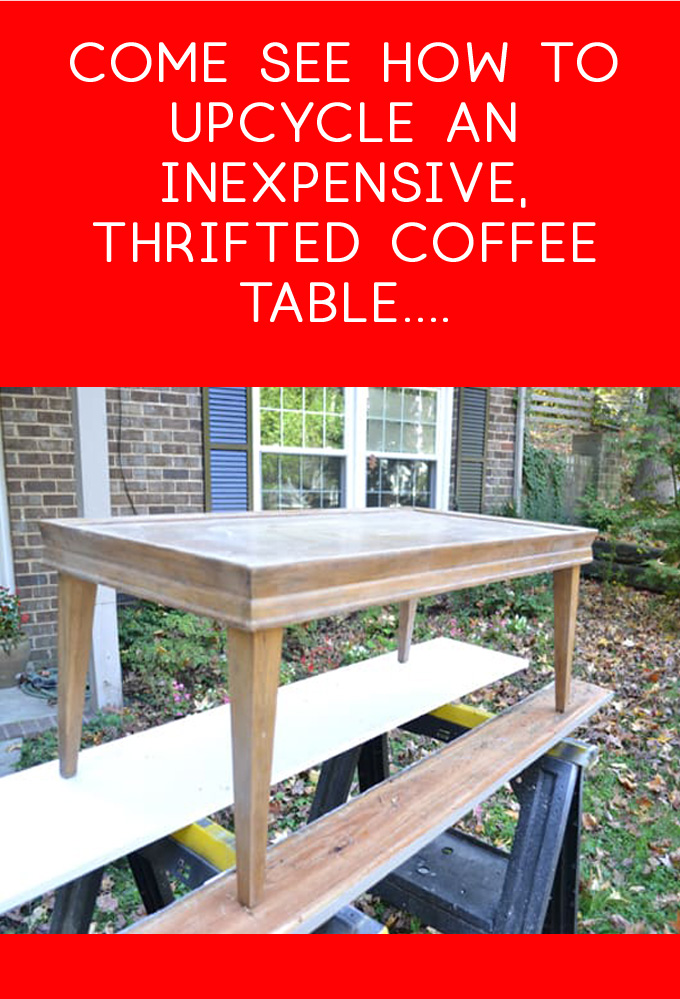
I started by stripping off the paint from this coffee table, and adding some color in the form of spray paint.
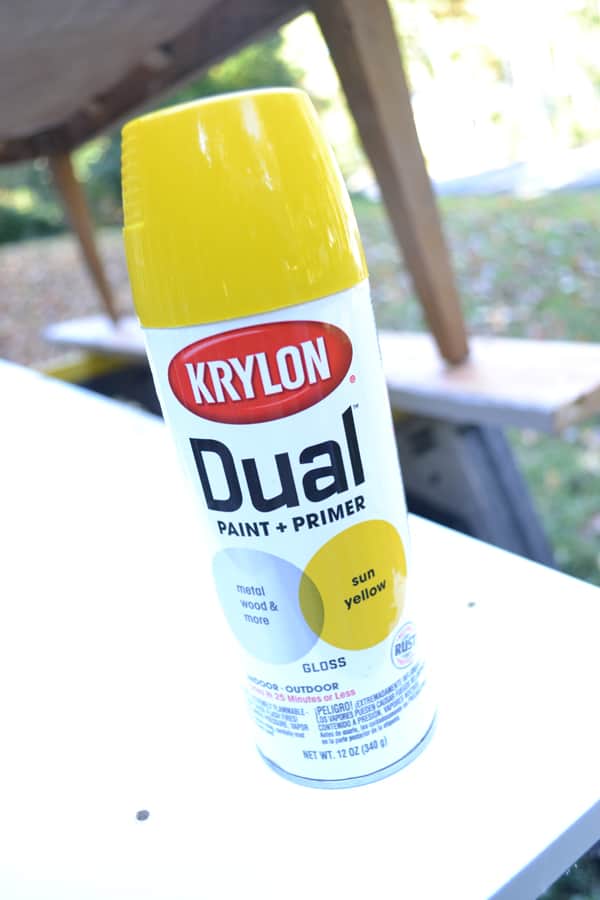
I love Krylon spray paint for it’s durability and ease of application.
The primer is included which is even better. One less step means I’m that much closer to being able to enjoy my new piece of furniture!
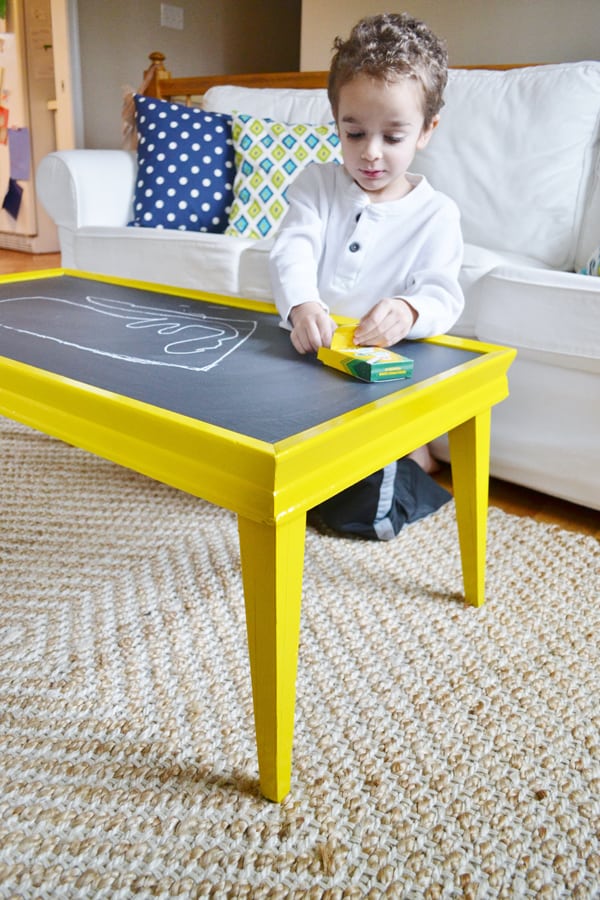
After the table dries, add a piece of chalkboard vinyl, cut to the size of the top of the table.
See full craft card below for entire DIY and handy tips.
And that’s all there is to it!
How to Make a Chalkboard Coffee Table
Perfect for kids room or a playroom, a chalkboard coffee table is the perfect way to give new life to an old coffee table!
Instructions
First, find a coffee table, end table, or other piece of furniture with a flat surface to use for this project.
I found the coffee table I used from Craigslist, but this is also a great project for that piece of furniture sitting in your garage or attic that you just haven’t figured out what to do with.
Once you decide on your piece, measure the top to figure out exactly how big your chalkboard vinyl needs to be. I got my vinyl from Belvedere Designs.
Next, it’s time to prep and paint your coffee table.
While my spray paint claims to have the primer included, I did brush on a coat of primer since my table was in pretty rough shape.
Two coats of spray paint and one shipment of chalkboard vinyl later, I was ready to get started.
Your vinyl may come with an application squeegee (shown below), which is very helpful in smoothing out your chalkboard vinyl. Because of the size of my table, it took two of us to apply, so ask a friend for help!
We did not unwrap the entire vinyl sheet from the backing at once…we unwrapped a small portion, positioned and smoothed it onto the table, unwrapped a bit more, smoothed it out a bit more, etc.
Lastly, be sure to prime your chalkboard vinyl by taking a piece of chalk, lay it on it’s side and rub your entire piece of vinyl with it. Erase, and do this twice more.
Now you’re ready to let your inner artist loose! Stand back and marvel at what a huge impact you can make with such a small investment of time and money.
Thanks so much for reading all about How to Make a Chalkboard Table.
Have a crafty day!