
If you’ve ever wanted to know how to stencil your patio, this post is for you!
Jenny is here sharing a guest post all about her stenciled patio. You’re sure to love this bold and fun patio makeover!
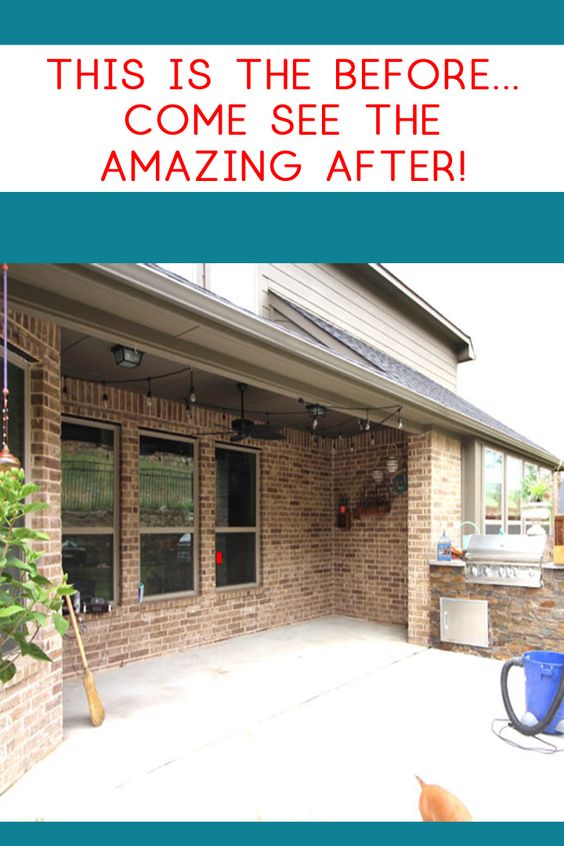
First of all, let me begin by telling you that I live in a new home. My patio was perfectly fine before tackling this project.
I decided to do it because I wanted the patio to feel like more of an outdoor room than just a slab of cement.
I had a rug, but wanted a bit more. Plus, all those lovely photos I was seeing on Instagram and Pinterest were whispering in my ear.
I was sure this would be the pop that I was wanting.
If you are also considering a project like this, let me tell you that stencils are a wonderful thing. In my opinion, that is the only way to go since they take the guesswork out of the project.
The hard part for me was deciding which stencil to use. I order my stencils from Royal Design Studio. I have always been very happy with them and consider them to be durable and very user-friendly. Also I knew that I wanted to create a tile look.
This helped narrow down my selection. The one I finally decided to go with is the Spanish Tile Set

Now, with the stencil ordered, it was time to prep the patio for paint. As I’ve mentioned, my patio is new and in great condition. However, if your patio has cracks or holes, you will need to fix those before you paint the surface.
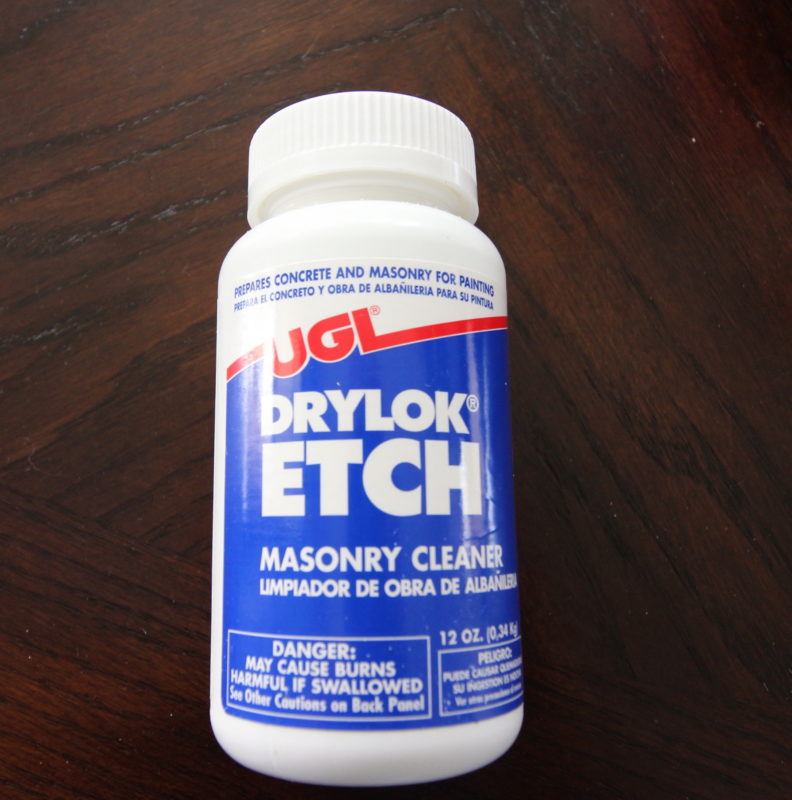
I had hoped to be able to just start with my base coat and go. No such luck. The friendly people at Home Depot told me that I would need to etch my concrete first.
In case you are wondering like I was, this is a chemical that you scrub onto your patio with a brush, let it set for a half hour, then rinse off. It has some form of acid that opens the pores of the concrete so that it will accept the paint.
This is the one I used.
This process was no big deal. It was done quickly and easily and it did not harm the grass around the patio. Here’s what the patio looked like when we were ready to start.
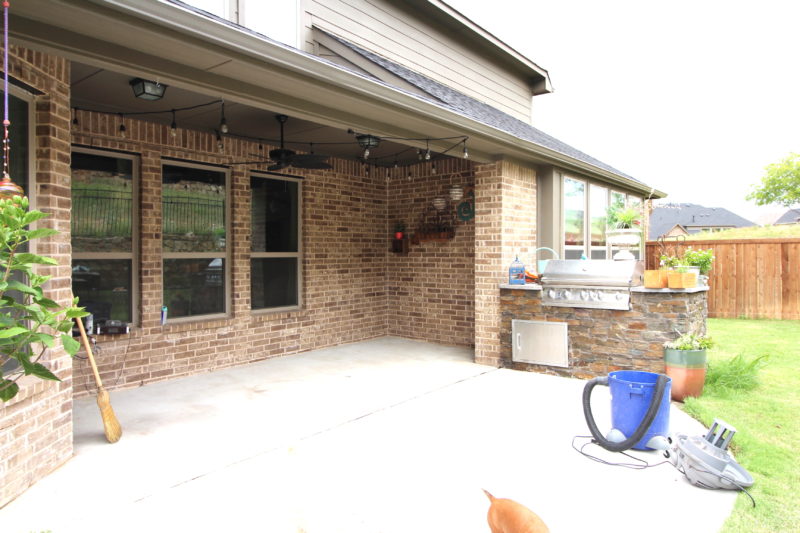
I totally appreciated being photo bombed by the dogs. 🙂
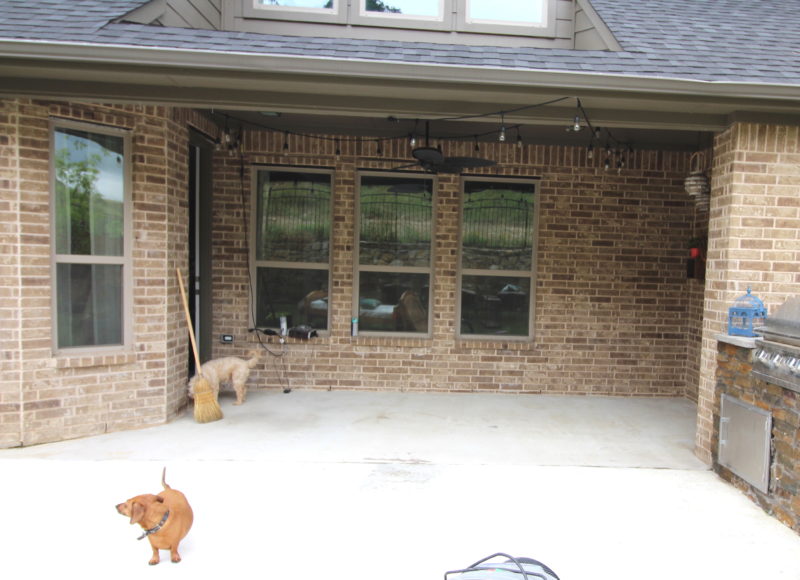
You can see that we have swept off any debris and moved everything out of the way. At this point the patio was ready for paint. We went with the Behr Porch & Patio paint in ultra white. We also had the deep base tinted black for the stenciling.
Applying the base coat was super quick and easy thanks to this handy little tool.
Not only did the paint go on smoothly, it was also wonderful to not have to do the whole job on my knees. And, since I’m in the heat of Texas, it dried quick as well. I applied two coats of the white paint and let it dry overnight. So far, this project is a breeze.
The next day I was excited to start applying the stencil pattern using the black Behr paint. I first tried using the roller to apply it. I hoped that it would be that easy. #wishfulthinking
As you can see, too much paint. It seeped under the stencil. It’s not terrible, but it didn’t show the detail. It kind of looks like a blob. So the stenciling part was not going to be quite as easy as I hoped.
Next I tried some foam tipped brushes. So these are great because they allow you to use a pounce type action to apply the paint. Also you can control the amount of paint better with these than the roller.
However, it still didn’t work out great on the patio. I’m thinking that perhaps my patio was too rough. On a smoother surface they might have worked better. Here’s what I got.
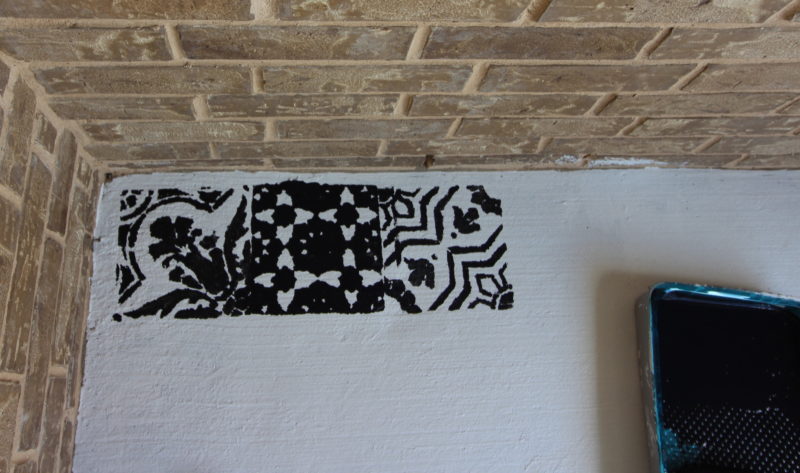
Better. right? But, still not what I was wanting.
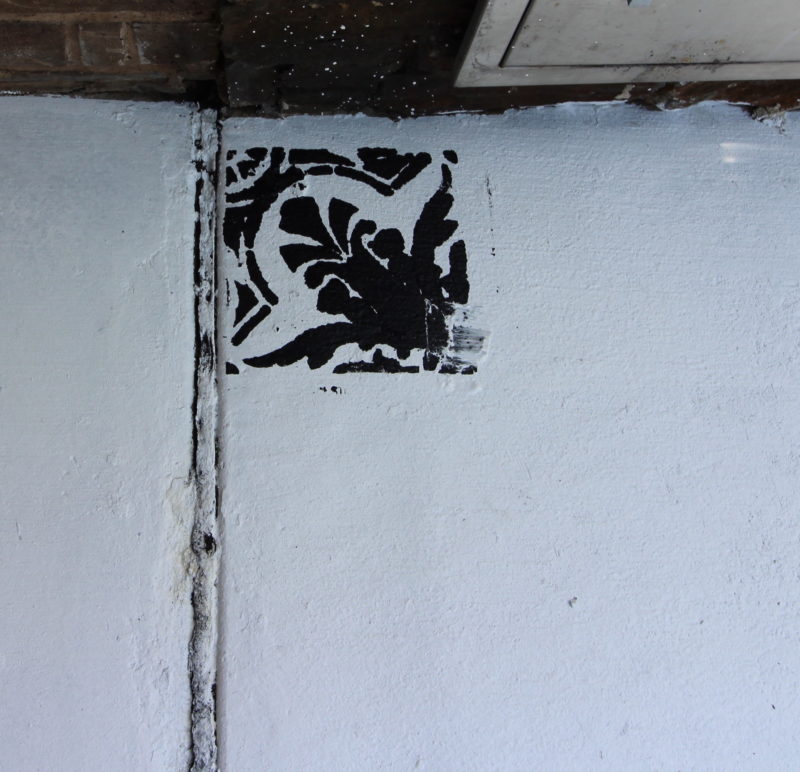
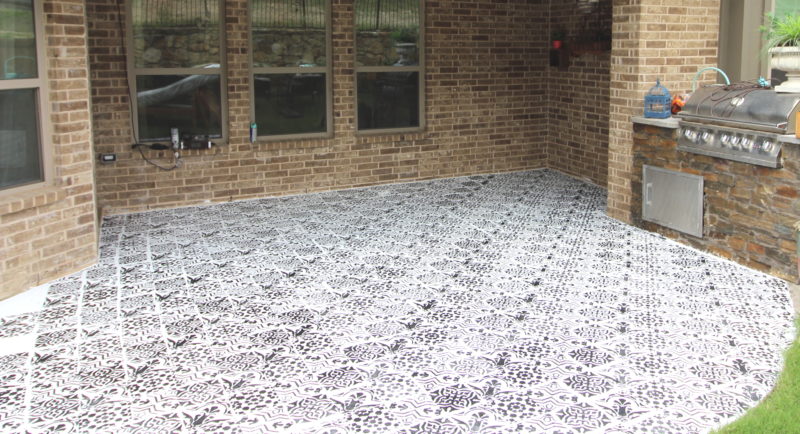
However, once I pulled out my handy-dandy stencil brush, it worked like a charm.
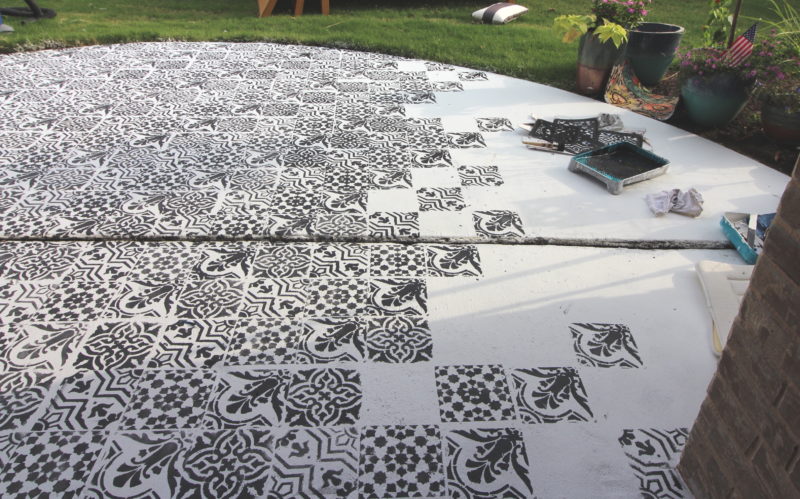
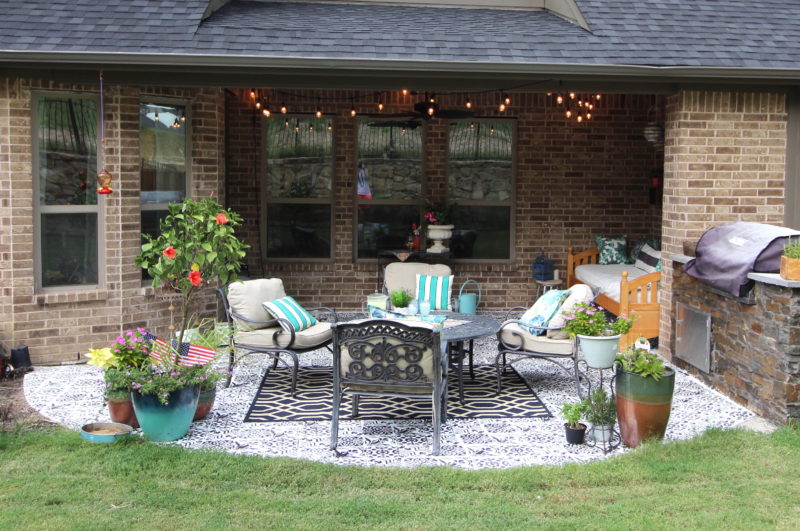
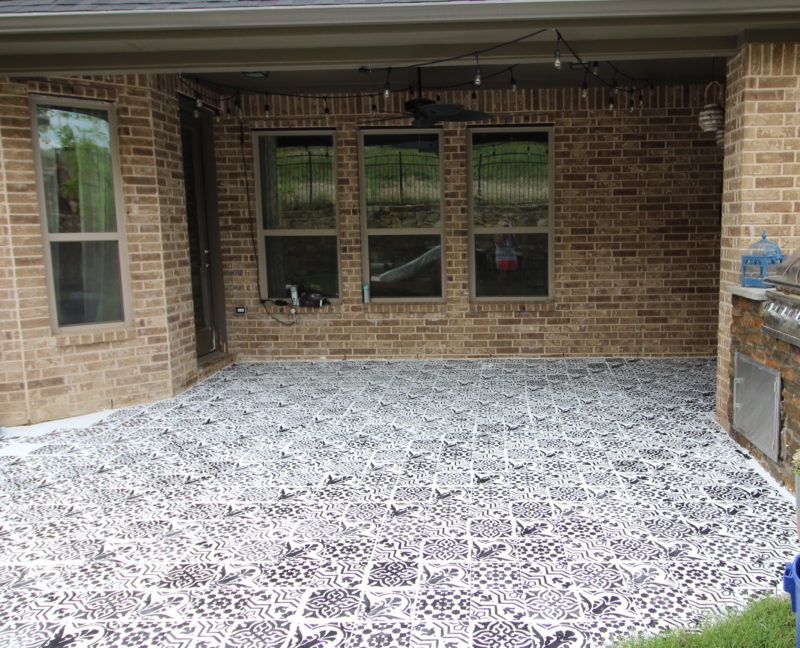
Although this was a lot of work on my hands and knees, it actually went pretty quickly considering how elaborate the pattern is. And, I love the way it turned out.
Still, I did learn some lessons along the way. So, I have a bit of advice for you if you’re considering doing this. Ready?
- Think carefully when you choose your stencil. While I love my result, using four 8- inch stencils to complete over 350 square feet was a LOT of work. A larger stencil would have been so much faster and easier to complete.
- Think about when you want to complete the project. Consider the weather. It needs to be warm enough to paint and yet not too hot to give you heat stroke. Also, make sure there is no rain in the forecast. It was super hot in my area. My water intake definitely went up for those days.
- Don’t stress out. If you mess up or make a mistake, you can easily correct by simply repainting. Also, no one else will study your work and be as critical as you. So what I’m saying here is ~ I may or may not go back for touch up work. 🙂 It’s not perfect and it’s ok.
- As always, less paint is more. With stenciling you do not want too much paint on your brush. This will help you avoid paint bleeding under the stencil.
- Make sure the design you choose is going to be something you are going to love for a while. I wouldn’t go too trendy with my design or my colors. At the same time, you do need to really love it. It’s going to take some time to complete.
All done, I think the project probably took 10-12 hours. It was not back breaking work at all ~ especially if it’s not too hot outside. Would I do it again? Yes! I really like the outcome and the feel it gives our patio. Now I just need it to cool down a bit so we can entertain on the patio. That will be about October. 🙂
So, have you tackled a project like this and lived to tell about it? If so, I want to hear about it. If you have any questions about this, don’t hesitate to leave it below in the comments. Now here’s the real question. What do you think?
Thanks so much to Linda for allowing me to share my project with you. Please feel free to reach out to me anytime if you have any questions or visit my blog. I’m just a quick click away.
Hello! I’m Jenny from Jenny Louise Marie. I write about my real life with three sons and share whatever DIY or craft projects I’m working on. I also dish about the stuff I love like decorating, great finds, and entertaining ideas. I hope you’ll hop over to visit. I’m so happy to be here with you today to share one of my very favorite DIY projects. I stenciled my patio this summer and I love how it turned out. While I’ve had plenty of hits and misses with DIYs, this one is a hit. And the best part is, it’s super easy to do ~ let me show you.
Until next time~


Sandra Garth
Wednesday 30th of August 2017
Wow this was quite an undertaking and it is beautiful! Thank you for sharing with us this week at Celebrate Your Story and we hope you will join us again next week.
Gentle Joy Homemaker
Tuesday 29th of August 2017
Wow, what a project! Nice and glad you will enjoy it for a long time to come. :)
Debra C
Tuesday 29th of August 2017
What tool sis you use for base paint? And where did you purchase it?
Barbara Fegley
Sunday 27th of August 2017
Also, the patio is beautiful. You should be so proud of all you did. I just love it.
Barbara Fegley
Sunday 27th of August 2017
I hope that you and your family are safe and dry in Texas. My prayers are with all of you. God Bless You!