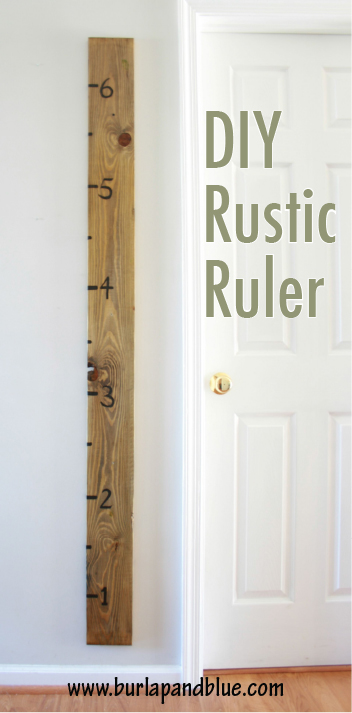
This DIY growth chart tutorial is a rustic and simple DIY project that also makes a great gift!
There are so many times that I find myself online searching for inspiration and stumble upon an absolutely adorable nursery design or project made for little hands and imaginations.
Despite the fact that my hubby and I don’t have plans involving kids anytime soon, I am able to live vicariously through my friends who DO. So when I came across the idea of an oversized rustic wooden wall ruler made to measure the height of little ones as they grow, I decided to go ahead and make it with the intention of gifting the finished product to my friend.
I can’t wait to see her family use it as they measure the boys’ heights in the years to come.
Supplies:
1 inch x 6 feet piece of wood
light stain
dark stain
clear water-based polyurethane
thick paint brush
old rag
thin paint brush
black acrylic paint
Instructions:
The first thing I needed to do was give my piece of lumber an aged, rustic finish. To do so, I started by brushing on a layer of the light colored stain (Minwax, “Golden Oak”) with a thick paint brush. After wiping off the excess with an old rag, I used the thick paint brush again to brush a couple of quick strokes of the dark colored stain (Minwax, “Ebony”) across the wood in various sections. This particular color was SUPER dark and only needed a tiny bit to get that rustic look. After wiping off the excess, I left the wood to dry overnight.
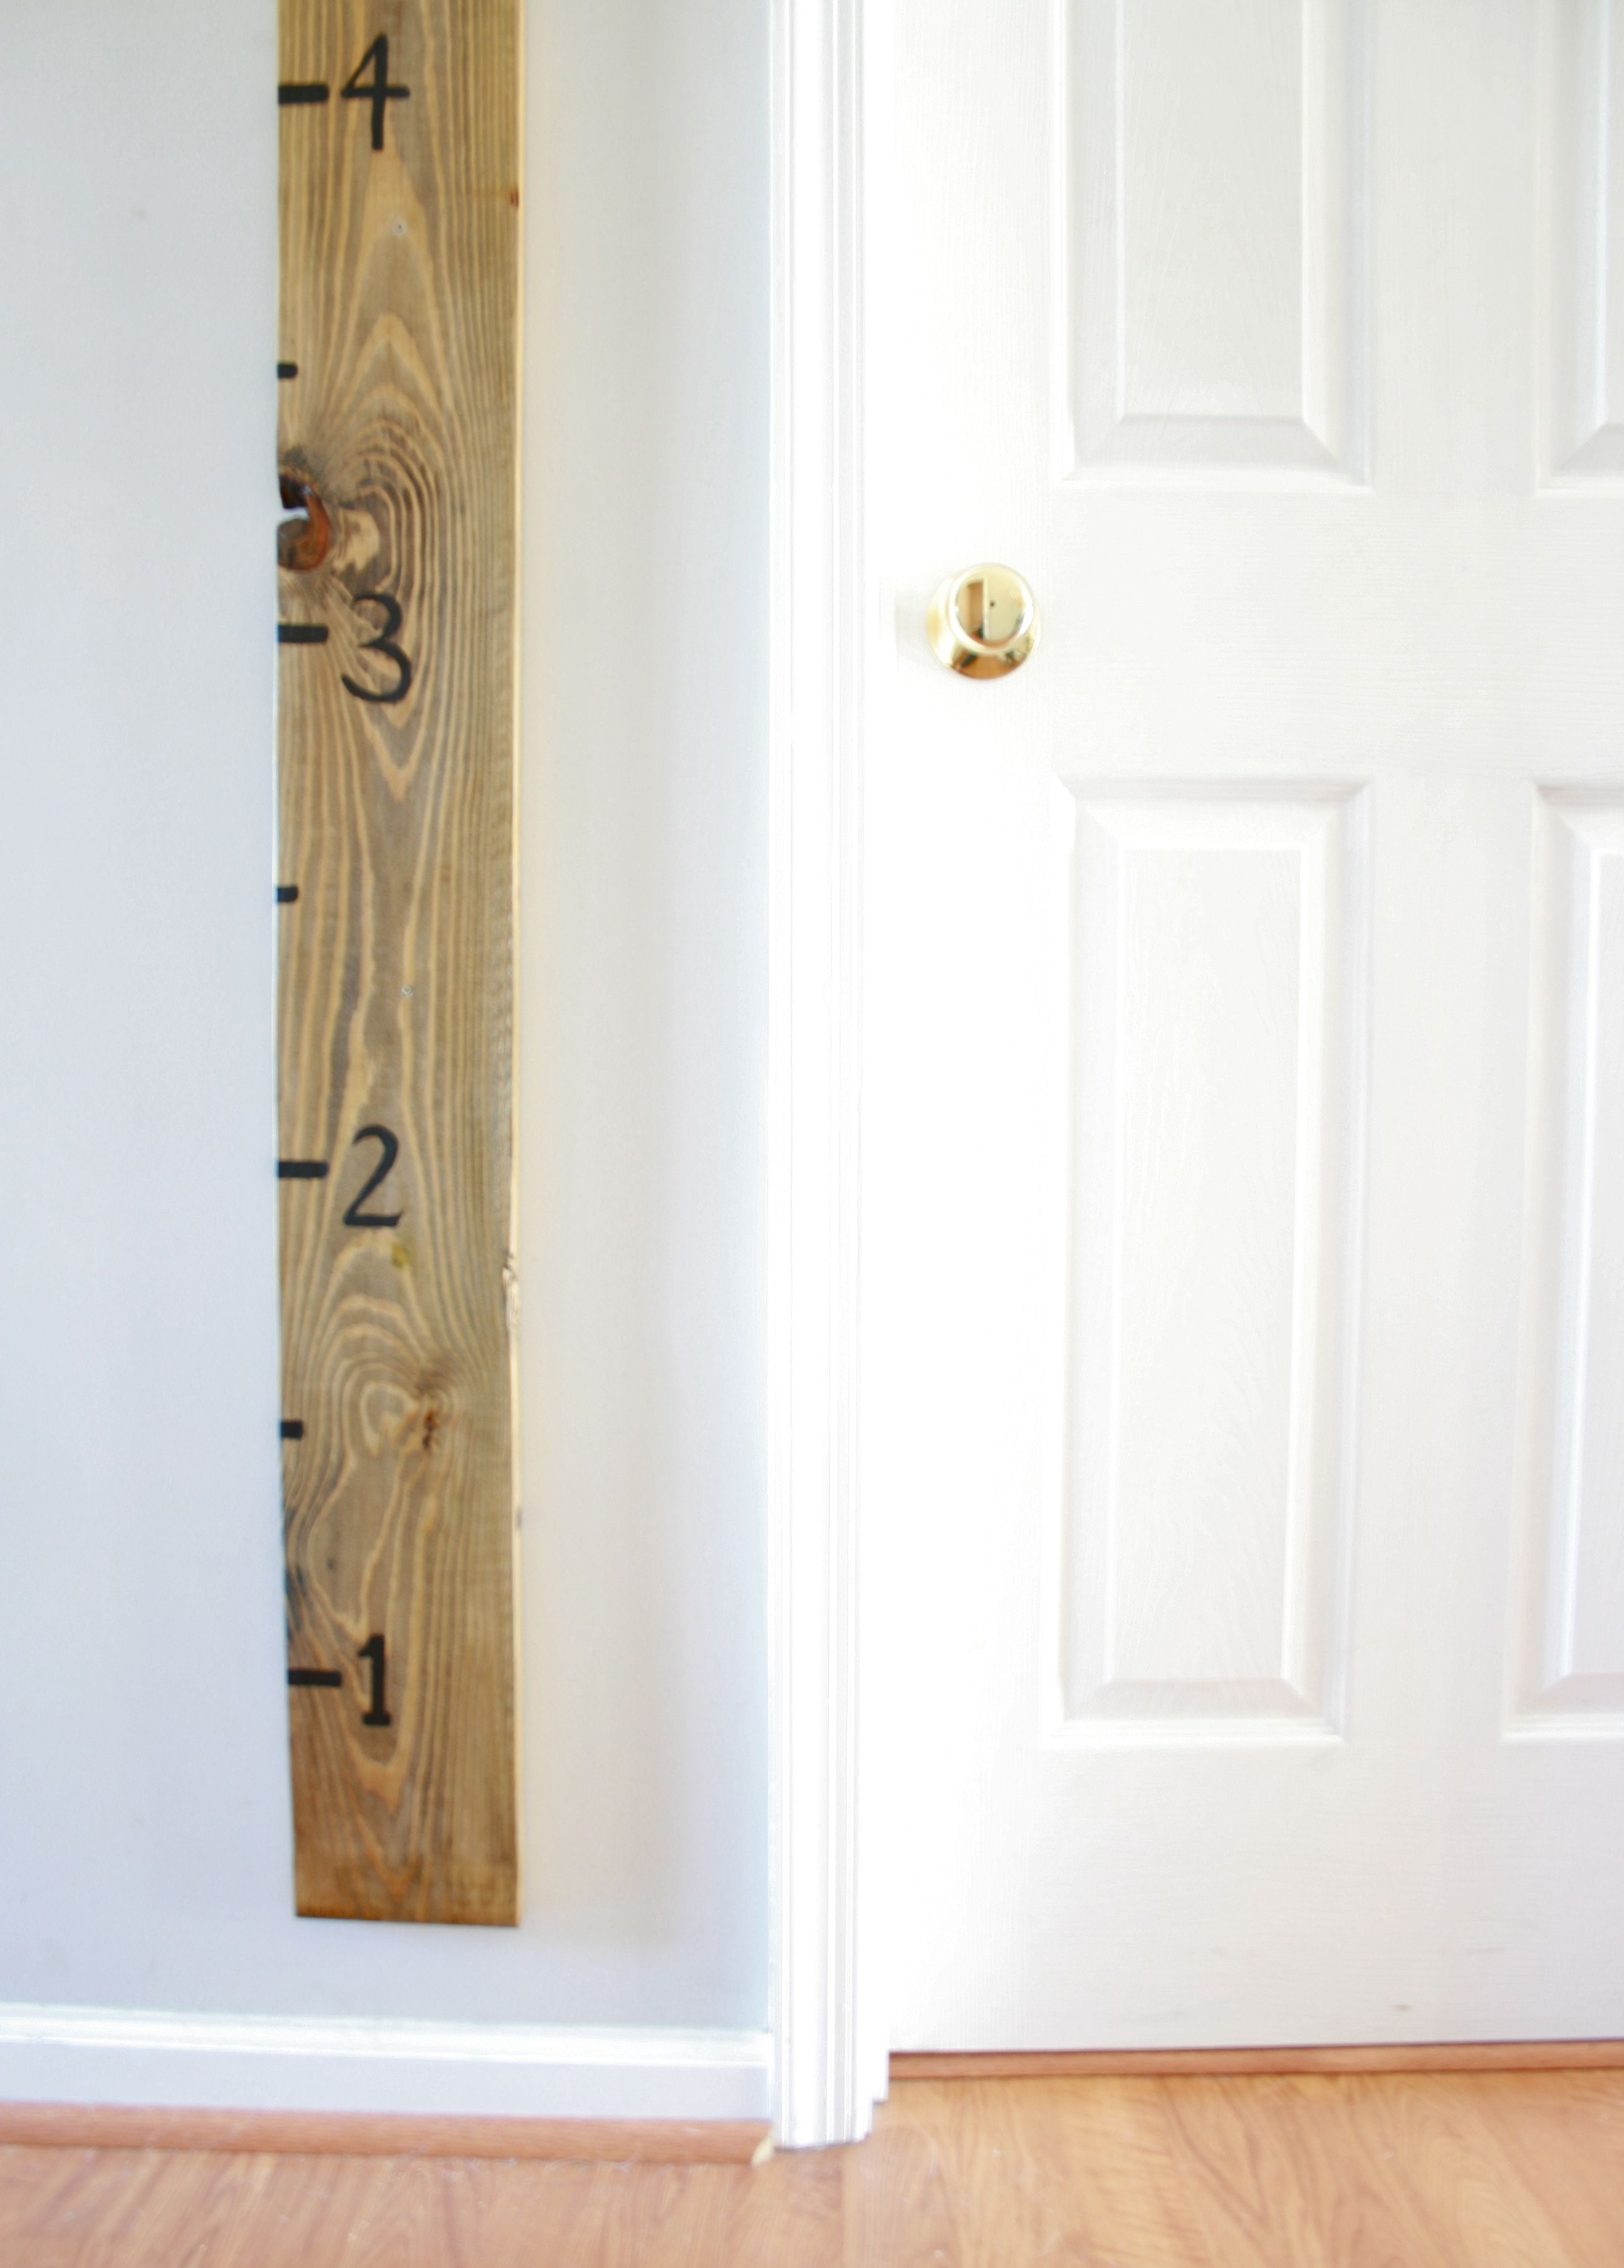
The next day, I took my thin paint brush and began to freehand marks every six inches and numbers every foot up the length of the board. I actually marked the first foot only 6 inches up from the bottom of the piece of wood. This was to allow for the ruler to hang above the base board, which is typically about five inches high. The photo below of the ruler up on the wall may illustrate this concept better than my words do.
Once my marks and numbers were painted on and dry (I gave it a few hours), I used the thick paint brush again to add a layer of clear polyurethane to give it a nice glossy finish. A few predrilled holes and some black finishing screws later, and this DIY Rustic Ruler is ready to mark the passage of time and inches.
Thanks for reading all about my DIY growth chart! Have a fantastic day!
Carrie Waller is a freelance writer and designer living in Lynchburg, Virginia. Her DIY blogging features for Burlap+Blue are available the second and fourth Thursdays of each month. For a real-time rehash of her home renovation projects and other DIY how-to’s, visit her blog at DreamGreenDIY.com.


