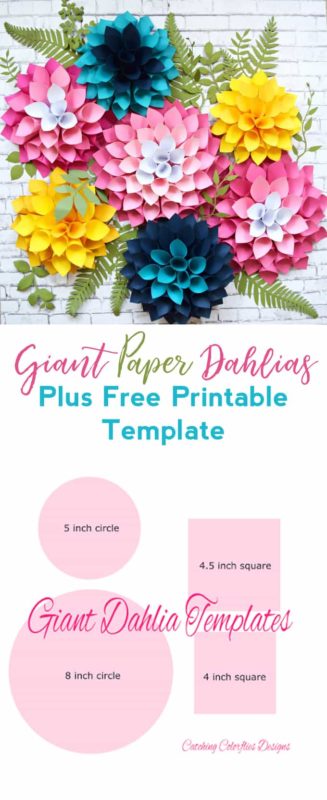
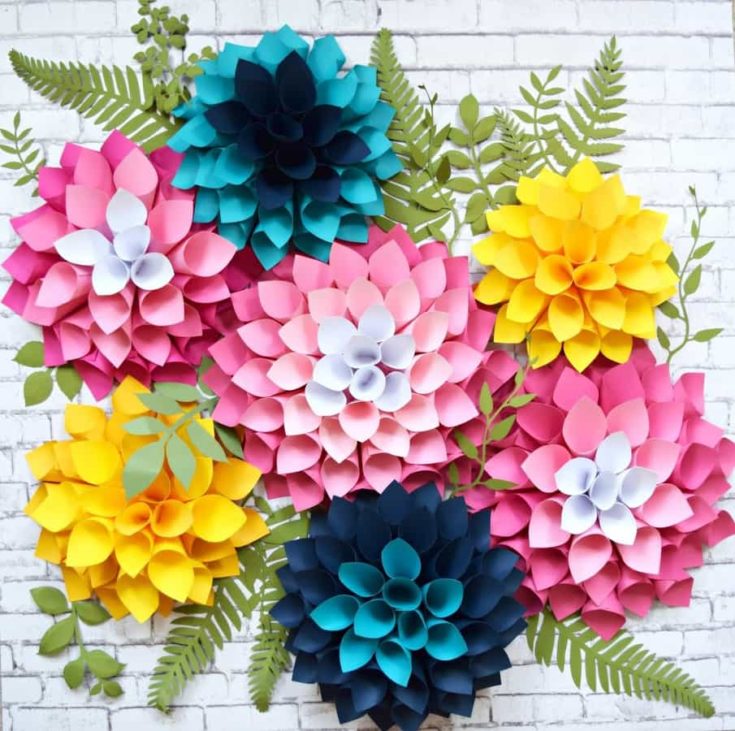
Who loves paper flowers? Today, I have a guest post for you showing you how to make giant paper dahlias!
Dahlias are simply beautiful and classic; everyone loves them. They make incredible additions to any event decoration or home decor.
That’s why I put together this Step by Step Easy Dahlia Paper Flower Tutorial so we can have these beautiful DIY flowers anywhere and everywhere!
This is one of our most popular and easiest flower tutorials that I designed for my book, The Art of Giant Paper Flowers, which today you get the printable PDF free!
This flower paired so well with some recent vine designs that I created a separate post about it here, which has a freebie! Yay!
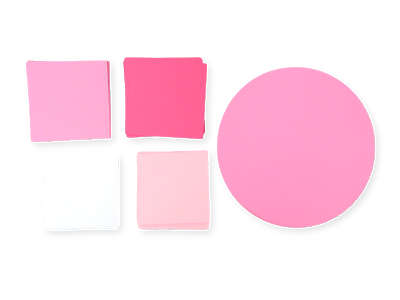
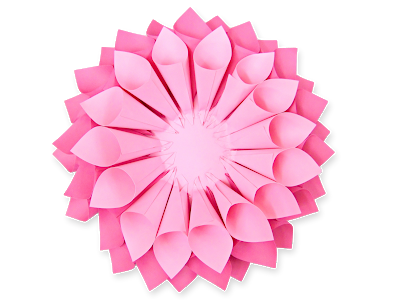
The giant dahlia is made from 2 basic geometric shapes a large 8 inch circle for the base plus several 4.5 inch and 4 inch squares rolled into a cones shape.
PREP & TOOLS:
- Templates
- Glue gun
- Scissors
- 65 pound weighted cardstock
STEP 1
Start with cutting out 40—4.5 inch squares and 15—4 inch squares.
It’s important to note that the final count of squares used will vary for everyone, but the above count is a good starting place.

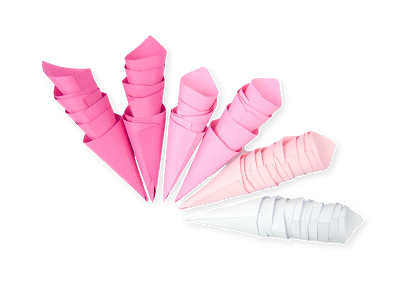
Step 2 To form the cone, hold the square with one corner up, and overlap the bottom securing with your hot glue.
A 8 inch circle template is included for the giant dahlia base.
If you wanted a variety of sizes changing the circle base size will easily increase or decrease the overall size of the flower. If you wanted a flower larger then this I suggest cutting a 9-10 inch circle. Of course more squares will then be needed to fill the dahlia.
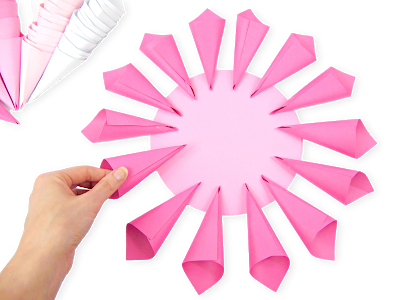
STEP 3
Beginning with your larger cones made from the 4.5 inch square. Glue the tips to the inner edge of the circle all the way around. Make sure to leave about a 1/2 inch of space between the first layer of cones.
STEP 4
Next, continue adding cones in the spaces between the first layer of cones we put down.
STEP 5
You should be using your 4 inch cones on top by now. Continue the pattern and keep filling in more of the dahlia petals.
STEP 6
Once you get down to the last half dozen or so of cones, they will naturally bend at the tip when you glue them in. This is what you want so that the final look is a tight dahlia center.
You may need to grab your dowel or rolling tool to press the tip down and make sure it makes good contact in the center for the final couple cones.There you have it! They take some time but are really easy and so pretty when finished!
My name is Abbi Gillespie. You will get to know me as Abbi Kirsten around the web.
I’m a blessed wife and Mother to two toddlers. I have a heart and head full of creativity. Teaching others to DIY for their personal events is my specialty.
I’m so excited to share that I recently, have released a self published book, The Art of Giant Paper Flowers, which covers more then 24 exciting tutorials and features 16 of my signature giant flower templates! You can find all the details about the hard copy book with workbook here or download the Ebook here!