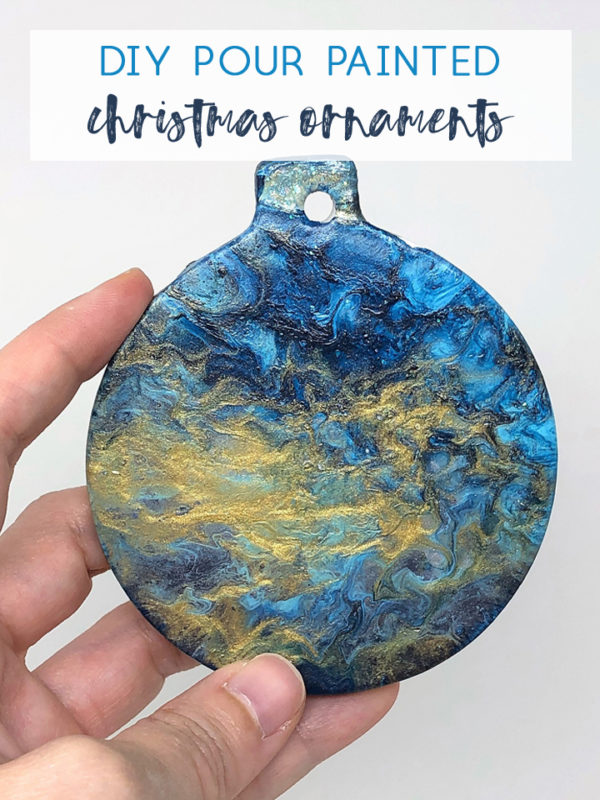
These easy DIY ornaments use one of my favorite new techniques-pour painting! These are perfect for all ages and make a great gift idea!
Pour painting is one of those trends that took me a while to try for myself.
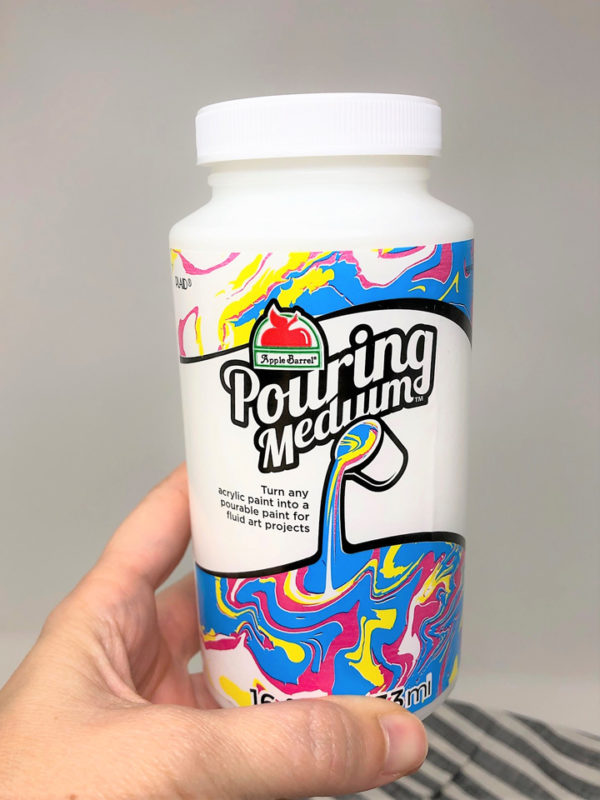
I’m so glad I eventually did try it, though! Plaid was kind enough to send me their Pouring Medium to try, and along with some acrylic paints and some ceramic ornaments, I was ready to begin.
Full, printable craft card is below!
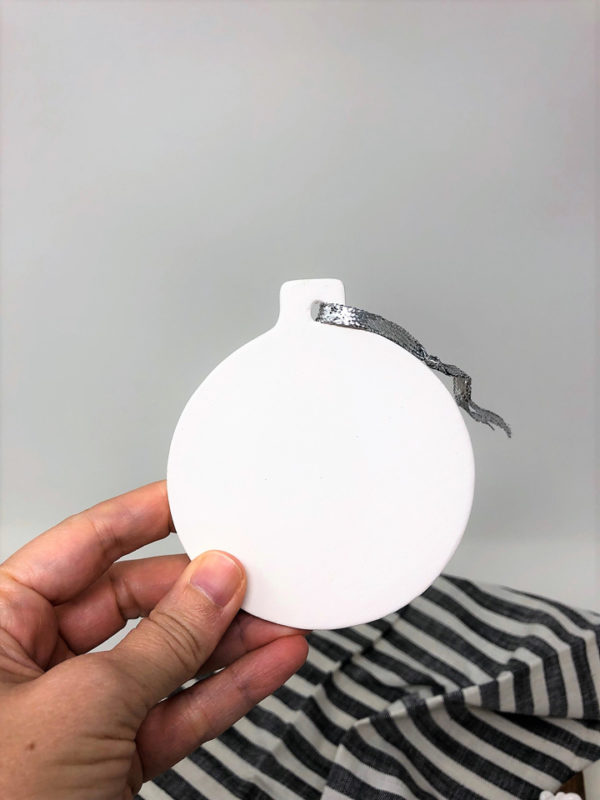
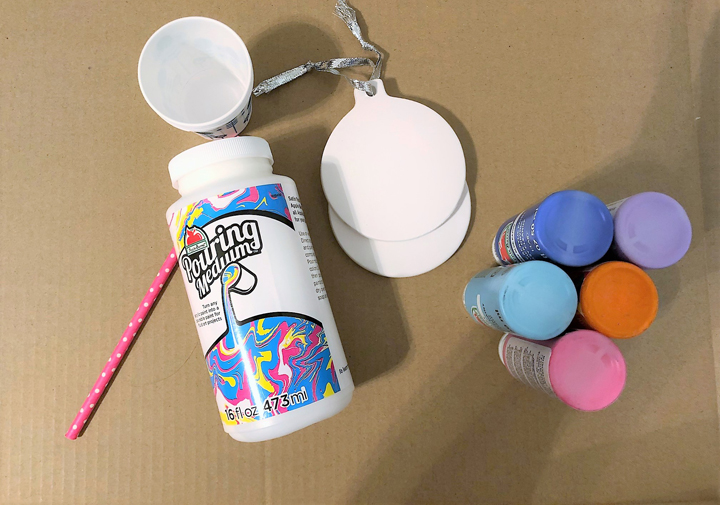
Just gather your supplies…
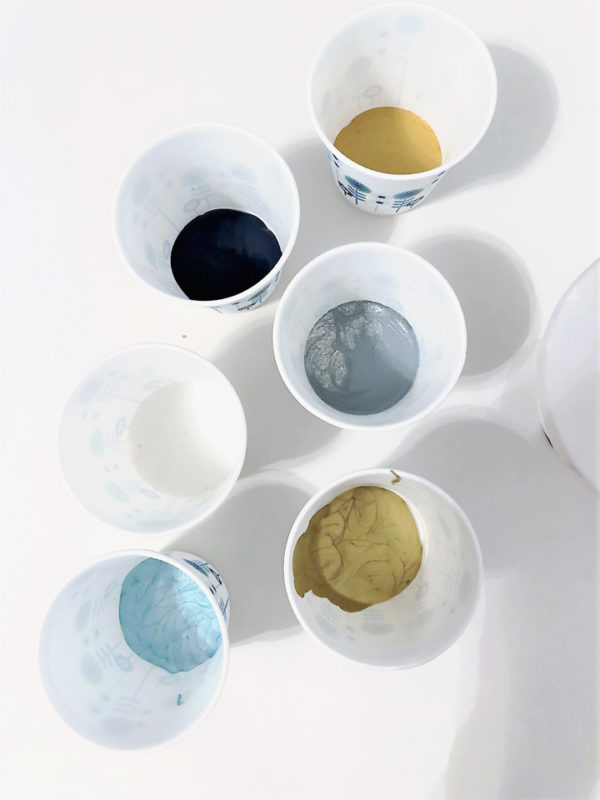
…mix your paints with the Pouring Medium…
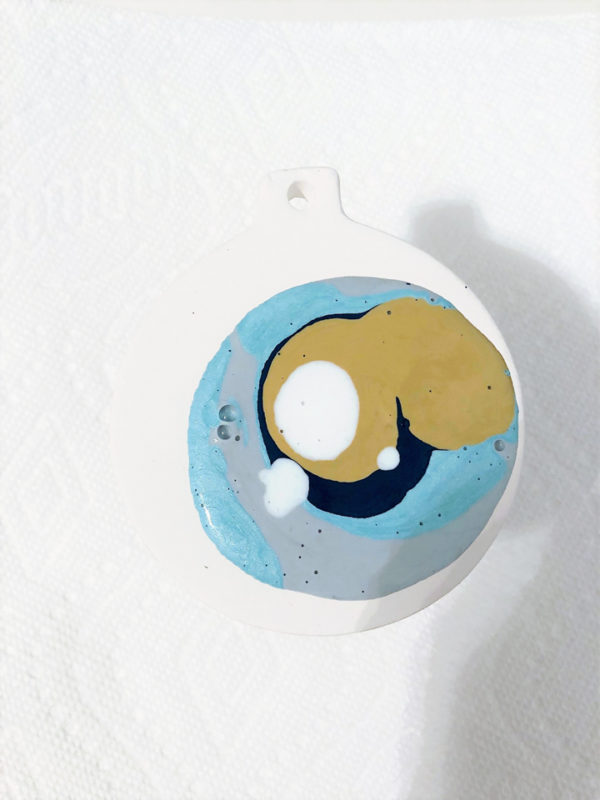
Add paint to your ornament, and use a hairdryer to mix and marble the paint together.
How to Make Pour Painting Ornaments
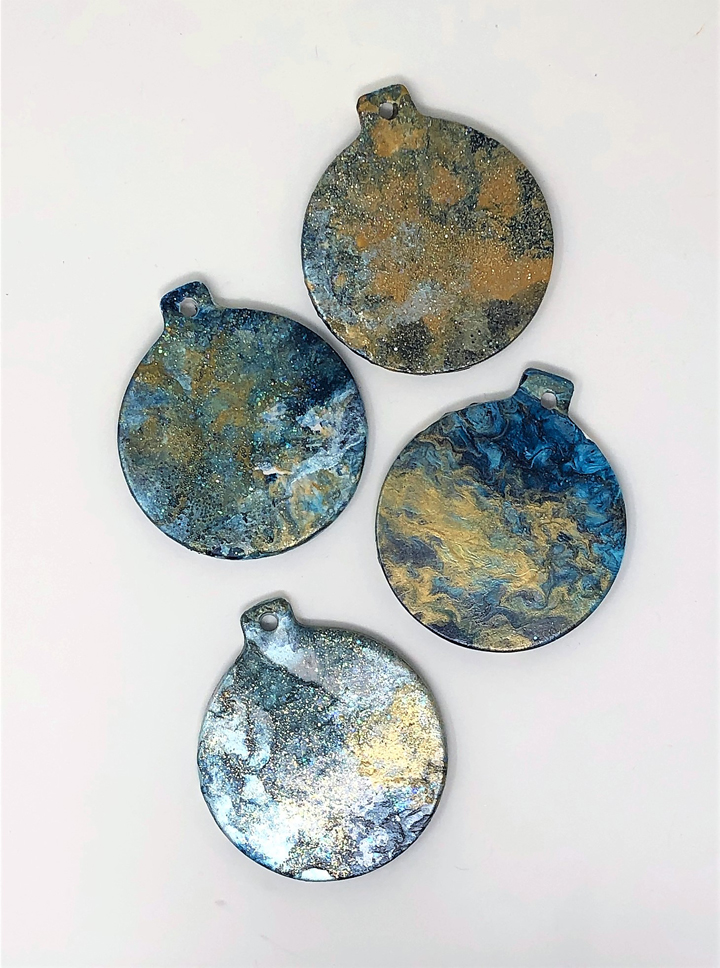
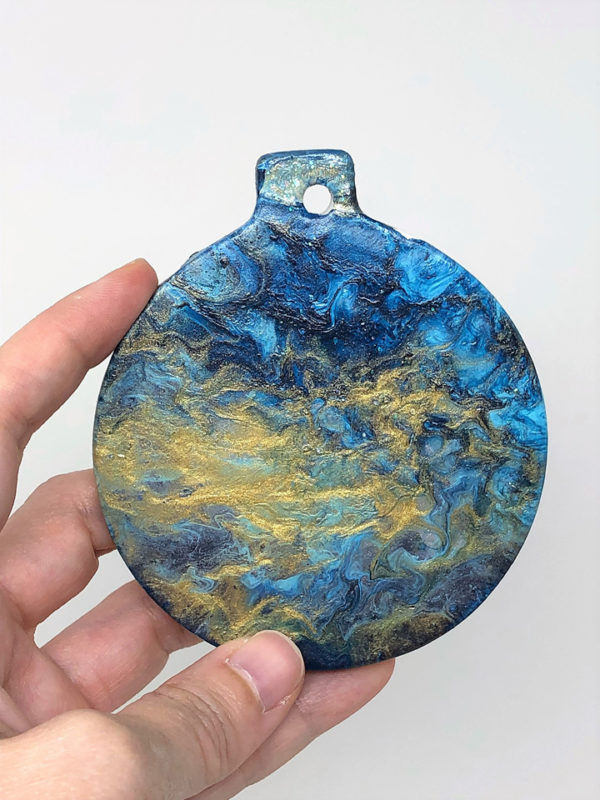
Easy pour painted ornaments are perfect for gift toppers or to give as gifts!
Materials
- Apple Barrel Pouring Medium
- Ceramic Ornaments
- Acrylic Paints
- Paper Cups
- Sealer
Tools
- hairdryer
- straw
Instructions
Following package instructions, mix together paint and pouring medium into small cups.
Pour paint onto ornament, pouring the colors on top of each other.
Use your hairdryer and straw to mix and marble the paints together, covering the surface.
Let dry.
Seal with a sealer or Mod Podge Hard Coat.
These were so fun and EASY to make. Even my six-year-old was able to get in on the action!
We added glitter on top of some of the ornaments for extra sparkle and shine!
You can also learn how to make your own natural pigments if you’d like to take it a step further!
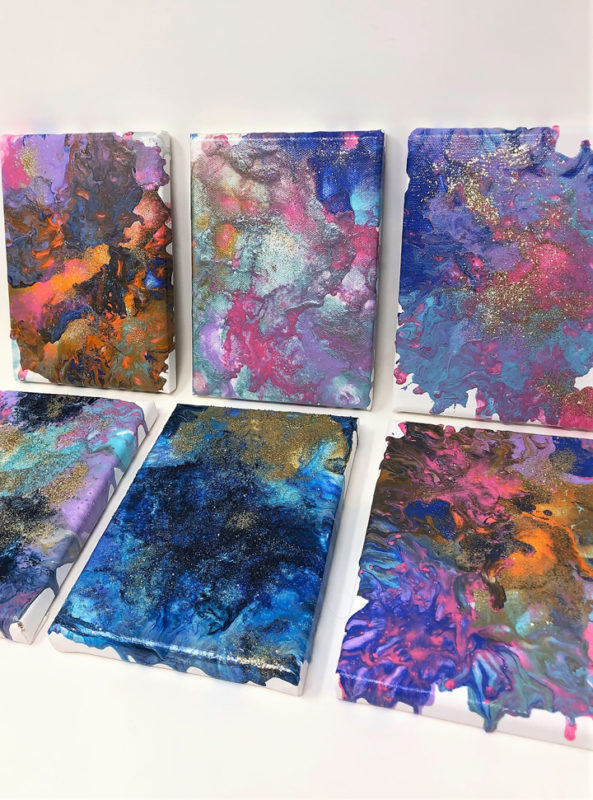
Looking for another pour painting idea? Check out this canvas pour painting tutorial from burlap+blue!
Have you tried pour painting yet?
Thanks for reading all about How to Make Pour Painting Ornaments. Have a great day!