
Love the look of picture frame molding? This post will show you our dining room before and after adding picture frame molding to our walls!
I really love adding various architectural elements to our home.
Since our home was built in the 70s, it can lack some of the inherent charm and detailing as older (and even newer) home.
Making small changes, like adding simple picture frame molding, can help with this!
I really did love the Pottery Barn-inspired ledge in our dining room….but was just ready for something different (I know, I KNOW, I say that all the time…I can’t help it!) Here’s the before…

And here is the transformation!!
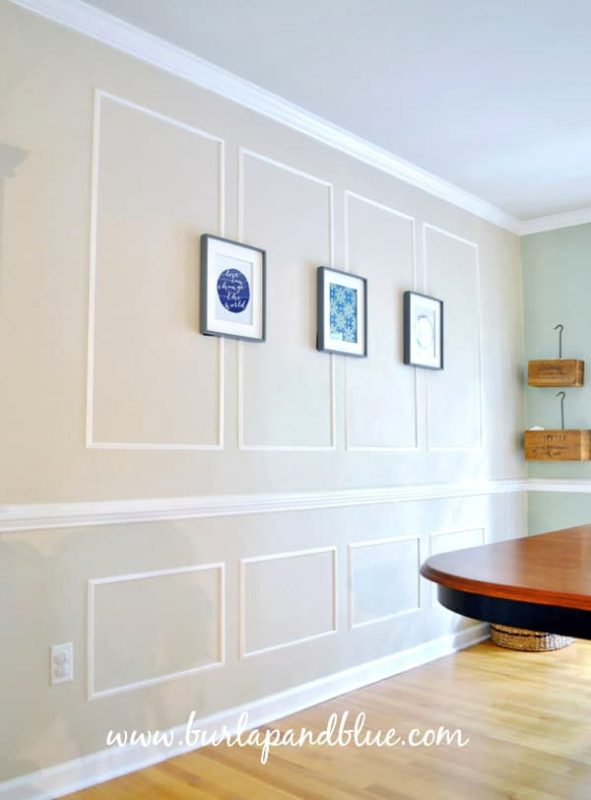
We used 10 sections of this 8 ft. molding from Lowes, and cut it at a 45 degree angle with a mitre saw. Don’t have a mitre saw? You can easily do this with a handsaw and mitre box that you can get for under $20.
Attach to your wall with a nail gun (I’ve even seen people do this with hot glue, though not sure if that’s the best idea-it would be a pain to remove). Then, just tape it off and paint!
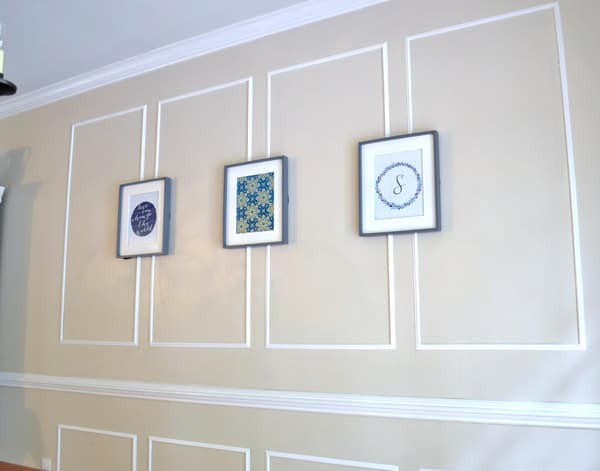
Curious about the artwork? On the left is an Etsy print in navy, in the middle is a piece of wrapping paper from Papyrus, and on the right is a print I designed myself.
I really like how the prints are centered between the rectangles, but you could also center each frame within the moldings.
Thanks so much for reading all about Adding Picture Frame Molding to Your Walls! Have a lovely day!


erjilo pterin
Tuesday 16th of June 2020
I got what you mean ,saved to my bookmarks, very decent site.