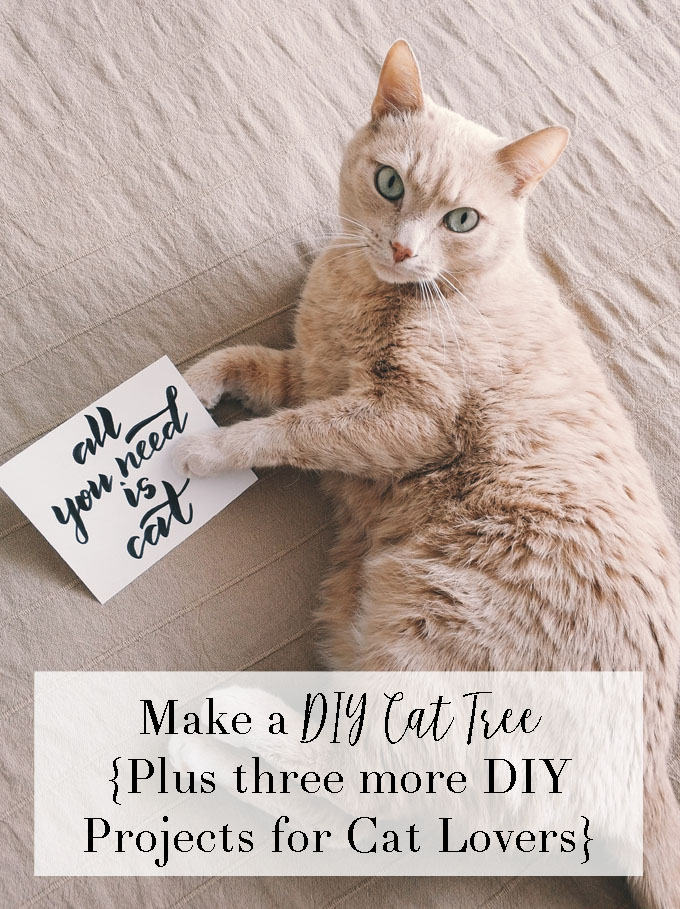
Who says DIY has to be difficult? Check out these easy DIY projects, including a DIY Cat Tree, your cats will love, whether you own one cat or a full clowder! Your feline friend will surely love you even more!
Cats are taking over the world. In the United States alone, more than 36 million households own at least one feline friend, and many have two or more. The world has gone cat crazy, and for all of us crazy cat ladies (and guys!), that is a wonderful thing.
Whether your cat spends his time lounging in the sun or she prefers to be tucked away in a dark corner, your purr machine deserves some special treats and TLC from time to time. After all, they are part of the family, right?
Sure, you could go to the pet store or even do some online shopping to get new toys, furniture and other goodies for your cat, but why do all that when you can make something extra special with your own two hands?
There are a lot of DIY projects out there for cats, and it is easy to find something that is suitable for just about any skill and experience level.
If you love getting your hands dirty but don’t have a whole lot of DIY experience, here are some simple projects even the most finicky felines are sure to love!
A Real DIY Cat Tree
Forget the so-called cat trees from the pet store! Bring the outdoors into your home by building your own tree using a large branch from your backyard. A small tree also works well. You need something with multiple branches that are sturdy enough to hold your cat’s weight.
Scrape off the outer layer of bark and remove any small limbs and twigs. You will be left with a couple large main beams that will form your cat tree. Seal the wood and let dry.
Attach a base and shelves using strong lag bolts. Once everything is assembled, put your tree in your living room, and let your cat’s natural instincts go wild!
Cat Shelves
If you don’t have the space for a full-size cat tree or you are wanting to tackle a project that is a bit simpler, install cat shelves. All you need are some sturdy shelves, carpet, and double-sided tape. If you’re looking for a great deal on shelves, Ikea’s EKBY JÄRPEN shelves get the job done and look great. Win-win!
Install the shelves according to the manufacturer’s instructions. Make sure the ones you choose are strong enough to support your cat’s weight and buy several to give your fur-baby a lot of area to roam and explore. Arrange them in a pattern that allows your furry friend to easily climb from one to the next.
Once the shelves are up, attach carpet to the top of each using strong double-sided tape. The carpet may also be permanently affixed using glue, but using tape ensures that the carpet can be removed and replaced easily when it gets dirty or becomes damaged.
Self-Petting Station
Have a friendly feline that just can’t seem to get enough attention? Make a petting station to give her a way to get the pets she’s craving even when you’re busy with other things like working, cooking, or, of course, cleaning the litter box.
To get started, you’ll need a board that measures roughly 12” x 12,” a small 1” x 1” x 1” wood cube, carpet, Gorilla Glue, two (new) toilet bowl brushes, a drill and drill bits and a yardstick.
Remove the toilet brushes from their handles and straighten. Next, drill a hole through your block of wood. Apply glue to one end of each brush and insert through the block. This turns your two smaller brushes into one longer one. Let dry.
While the brushes are drying, attach the carpet to the larger board using Gorilla Glue. Line your yardstick up from one corner of the board to the other diagonally and locate the center. Measure 5” from the center on either side and drill a hole.
Now, apply a generous amount of glue to each end of your now-longer brush. Fit the flued ends into the holes on the top of the baseboard to create an arch. Once dry, you will have a self-petting and grooming station your cat will love! Try sprinkling a bit of catnip on the arch to really make your cats go crazy!
T Shirt Cat Tent
If your lap is your cat’s favorite place to curl up, help him feel secure when you are away with a cozy tent made from one of your old blank t shirts. Cat tents are super easy to make and require only a few basic supplies – an old t shirt, a piece of cardboard, tape, safety pins and a couple wire clothes hangers. You’ll also need something to cut and bend the hangers. A large pair of pliers works perfectly.
Start by cutting the hooks off both hangers. Shape the remaining wires into two uniform arches. Next, cut your cardboard down so it measures 12” x 12.” Use some tape to reinforce the edges and make it a bit stronger.
Poke a hole in each corner of the cardboard using the end of one of your hangers. Next, cross the hangers in the middle in an X formation, and tape together to prevent them from shifting. Insert the ends of the hangers through the holes you punched in the cardboard. Bend the ends under, and tape them down.
Pull your shirt over the tent frame, and arrange it so that the neck hole is located in the front center, and the shirt’s bottom is trailing behind. Flip the tent over so the hole is pointing upwards and the bottom of the cardboard is facing you.
Fold up the excess material and tighten it to ensure that the tent is taught. Use safety pins to secure the fabric on the bottom, then safety pin the t shirts sleeves to the sides of the tent. Keep tucking and pinning until everything is nice and secure.
That’s it! Your cat now has a stylish tent that smells just like his favorite person – you!
Thanks for reading all about our DIY Cat Tree and Three Other DIY Projects for Cat Lovers. Have a great day!